Tuto : How to sew Selma
List of material
![](https://mycouturier.com/wp-content/uploads/2021/11/redaction-tuto-selma-18-1024x576.png)
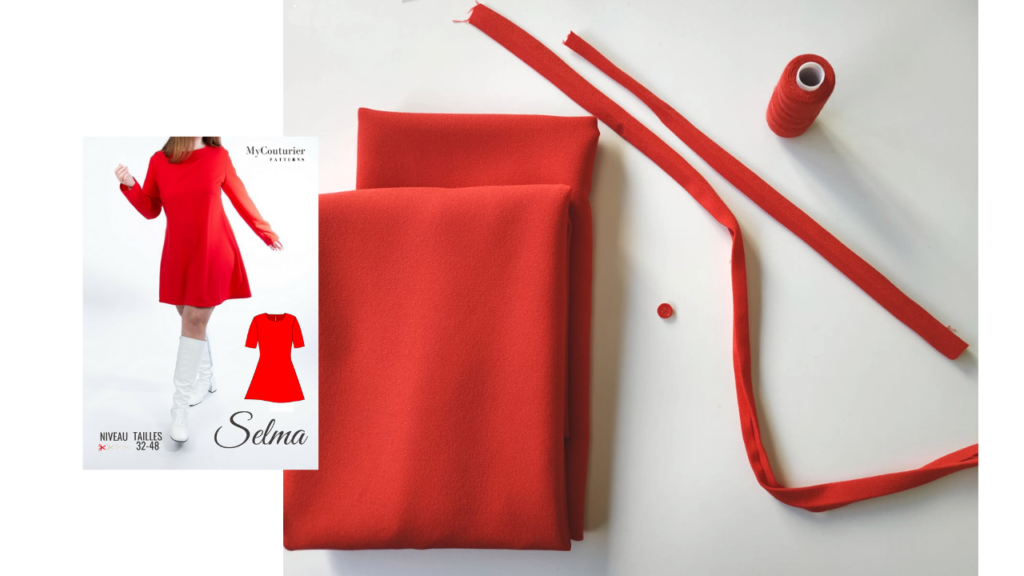
The fabric of your choice (retrouvez le métrage ici). In this tutorial, the fabric is a rather heavy and fluid red polyester crepe, which gives a very nice drape to the flared skirt;
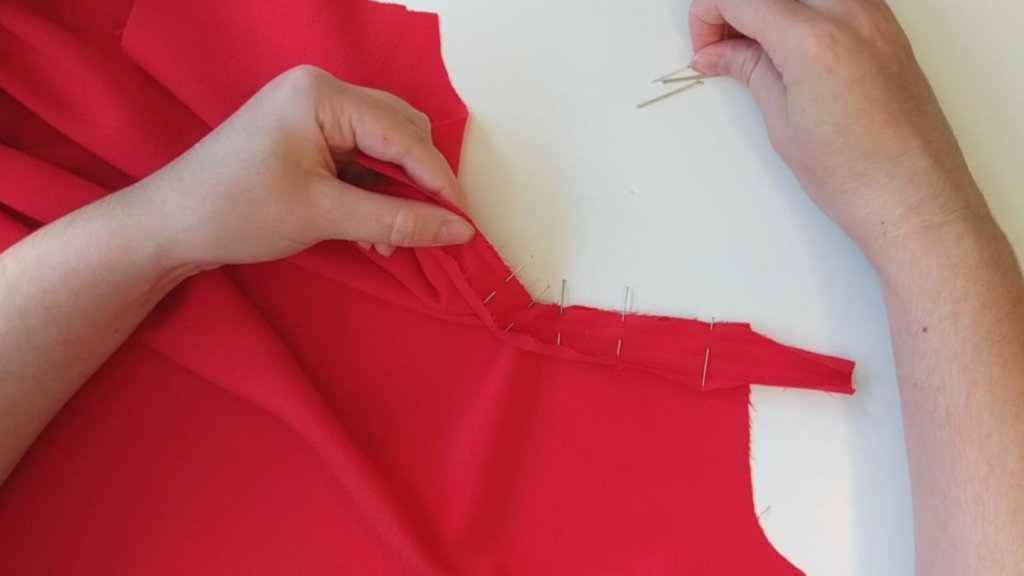
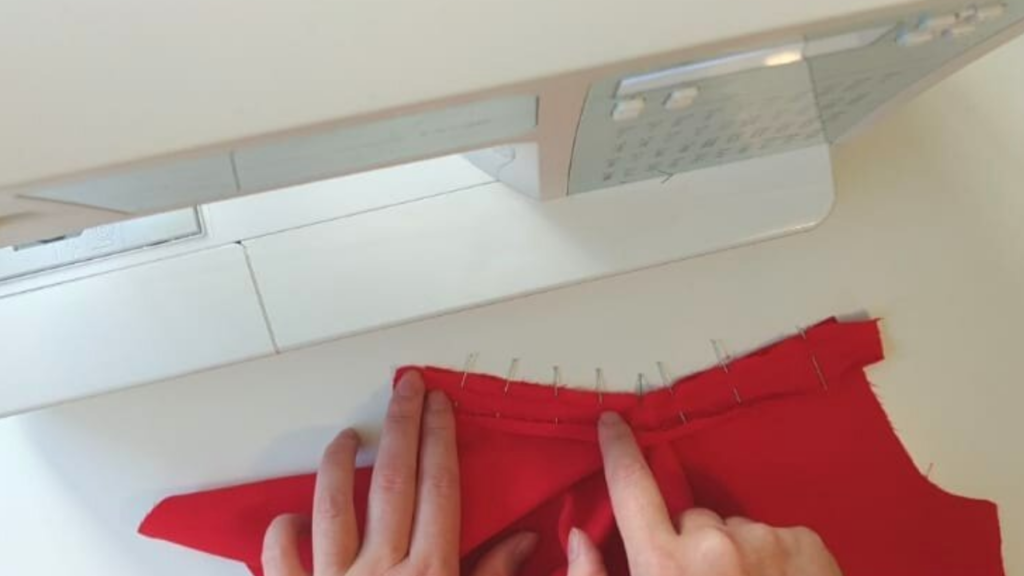
Bias, here made in the same fabric: length of the neckline (+ a few cm of ease) + length of the slit X2 (+ a few cm of ease) ;
A button for the neck slit ;
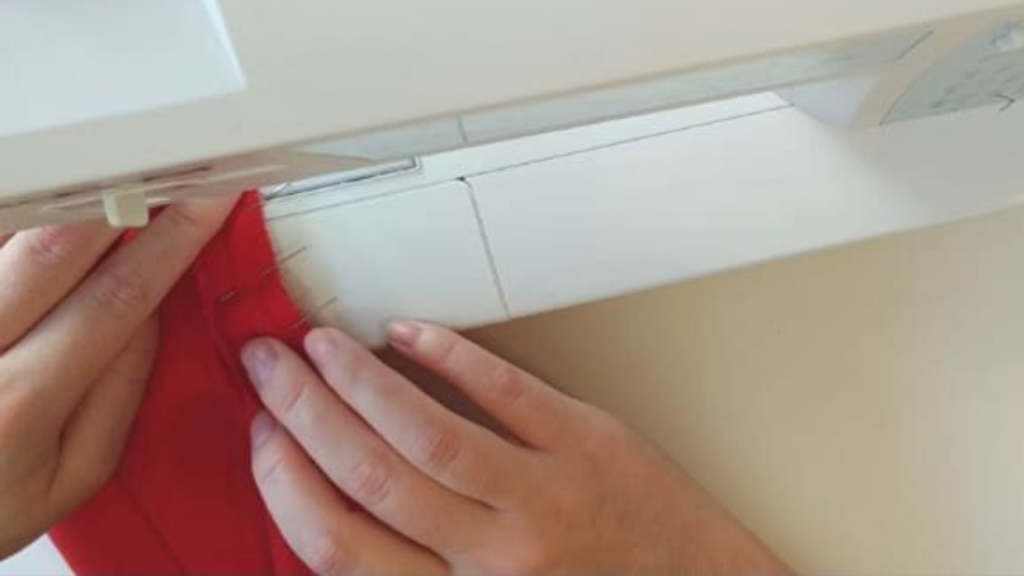
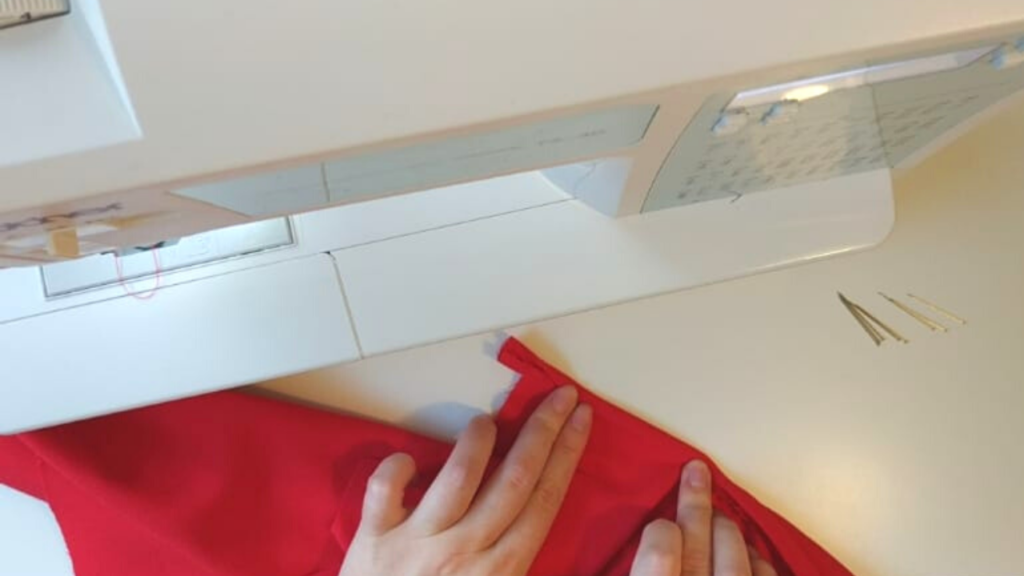
Thread, a needle and your dear sewing machine
;
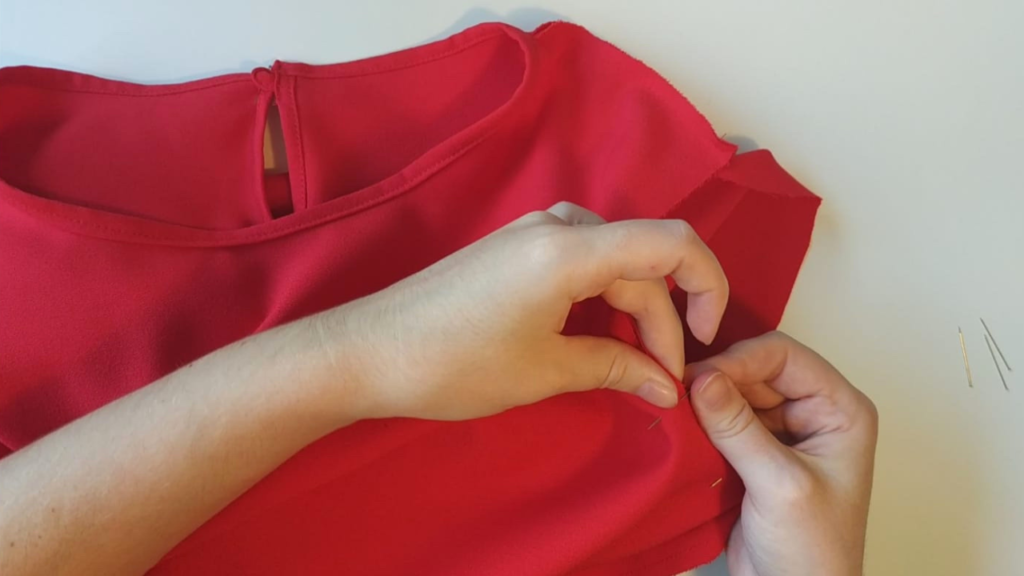
Find the pattern in range 32-48 to download here and the pattern in range 48-60 here ;
Sewing step by step
![](https://mycouturier.com/wp-content/uploads/2021/11/redaction-tuto-selma-1-1024x576.png)
1- Open the neck slit and place the middle of the bias at the corner, right sides together, then pin ;
![](https://mycouturier.com/wp-content/uploads/2021/11/redaction-tuto-selma-14-1024x576.png)
2- Pin the bias evenly along the slit. Feel free to trim the ends if they seem too long;
![](https://mycouturier.com/wp-content/uploads/2021/11/redaction-tuto-selma-15-1024x576.png)
3- Straight stitch the bias at the level of the first pleat (the outermost pleat in relation to the edge of the neckline);
![](https://mycouturier.com/wp-content/uploads/2021/11/redaction-tuto-selma-16-1024x576.png)
4- Fold the bias “atride” the neckline on itself, respecting the fold lines. Pin the bias again;
![](https://mycouturier.com/wp-content/uploads/2021/11/redaction-tuto-selma-3-1024x576.png)
5- Stitch the bias 1 or 2mm from the outer edge of the bias to finish assembling it;
![](https://mycouturier.com/wp-content/uploads/2021/11/redaction-tuto-selma-4-1024x576.png)
6- Place the slit edges side to side and sew at 45° on the wrong side at the corner of the slit;
![](https://mycouturier.com/wp-content/uploads/2021/11/redaction-tuto-selma-5-1024x576.png)
7- When the slit is finished, place the front of the dress right sides together with the back then assemble the sides and the shoulders;
![](https://mycouturier.com/wp-content/uploads/2021/11/redaction-tuto-selma-6-1024x576.png)
8- Place the middle of the bias in the middle front of the dress, right sides together. Pin and straight stitch along the first fold of the bias;
![](https://mycouturier.com/wp-content/uploads/2021/11/redaction-tuto-selma-7-1024x576.png)
9- Cut a rectangle of fabric about 6cm by 4. Fold it on itself to form a loop, which you will place at the edge of the slit;
![](https://mycouturier.com/wp-content/uploads/2021/11/redaction-tuto-selma-8-1024x576.png)
10- Once the sleeves are assembled, insert them into the armholes, marking yourself with the side seam lines;
![](https://mycouturier.com/wp-content/uploads/2021/11/redaction-tuto-selma-9-1024x576.png)
11- Stitch 1cm from the edge to sew the sleeves together, then turn them right side out;
![](https://mycouturier.com/wp-content/uploads/2021/11/redaction-tuto-selma-10-1024x576.png)
12- Preform the rolled hems using an iron, pin the bottom of the sleeves and stitch with a straight stitch;
![](https://mycouturier.com/wp-content/uploads/2021/11/redaction-tuto-selma-11-1024x576.png)
13- Do the same at the bottom of the dress;
![](https://mycouturier.com/wp-content/uploads/2021/11/redaction-tuto-selma-17-1024x576.png)
14- Finally, sew the neck button on the opposite side of the buckle;