 The fabric of your choice (find the yardage here). In this tutorial, the fabric is a silver metallic polyester ideal for sewing your party outfit ;
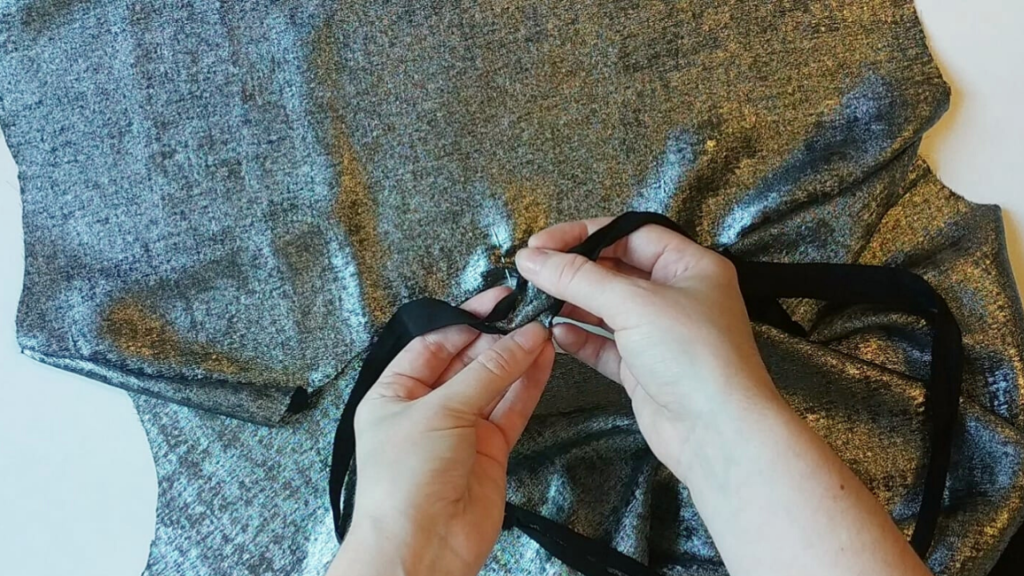
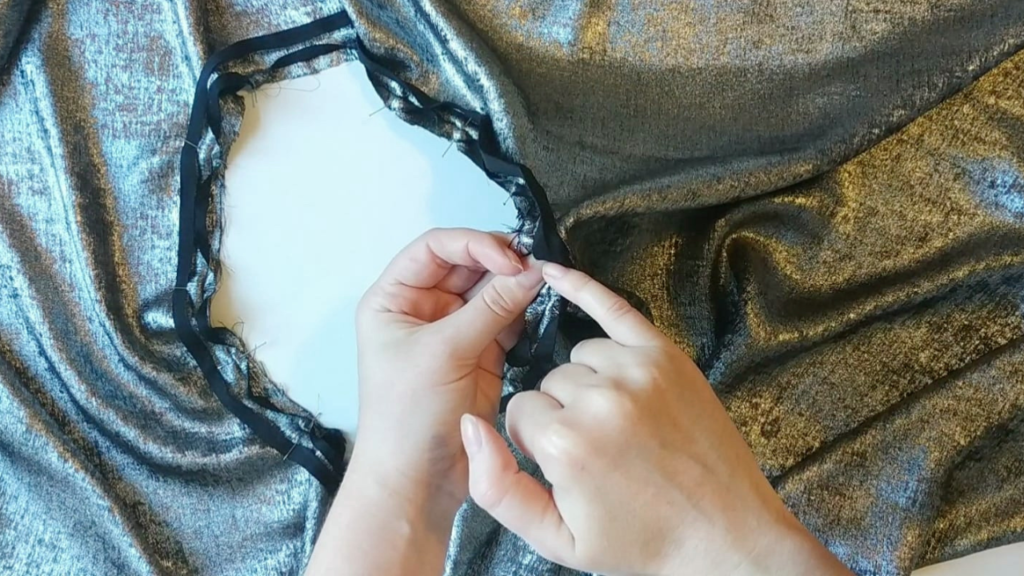
Bias, here made in the same fabric: length around the neckline (+ a few cm of ease) ;
Iron-on to cover the back ribbons if necessary ;
Thread, a needle and your dear sewing machine  ;
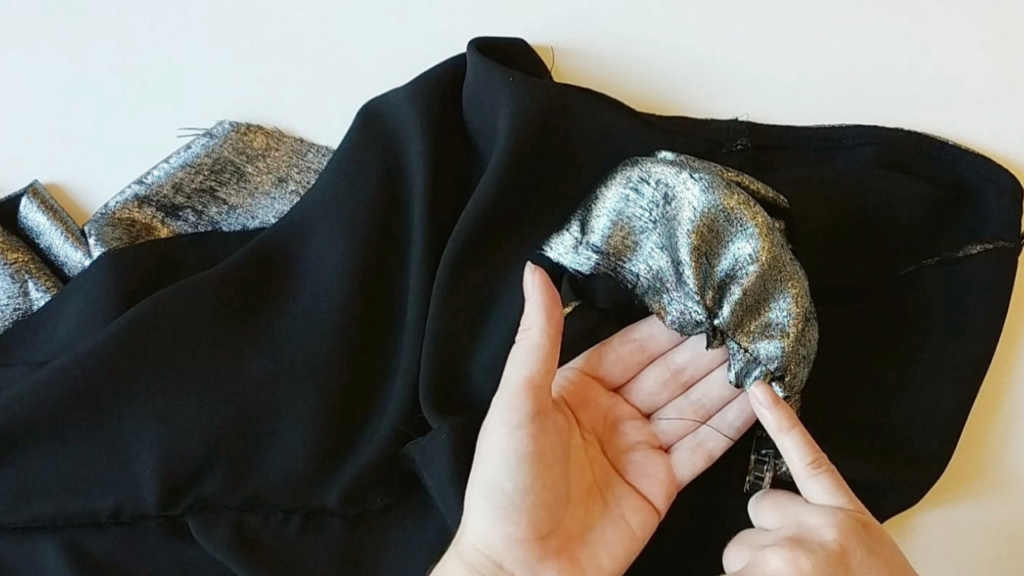
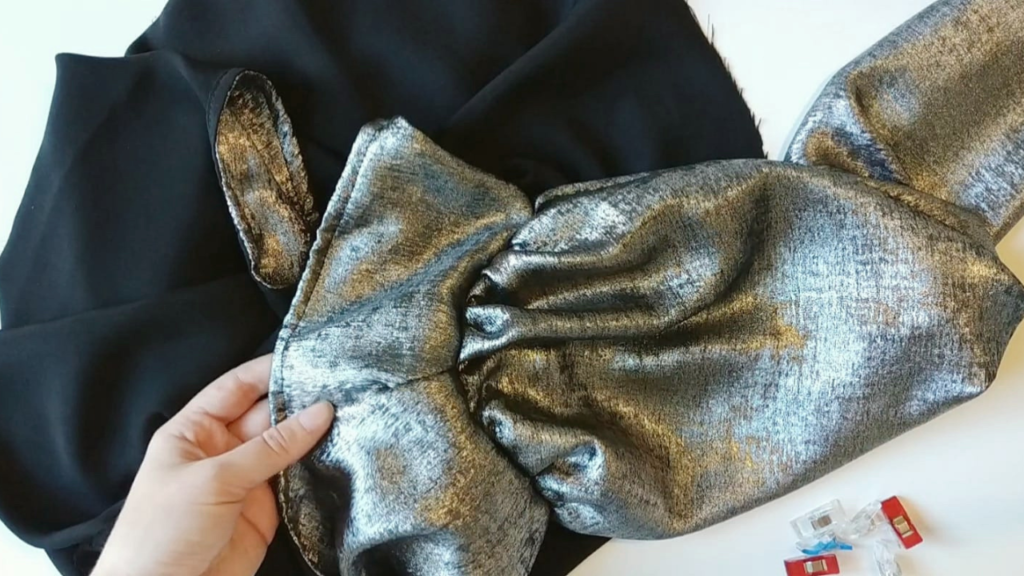
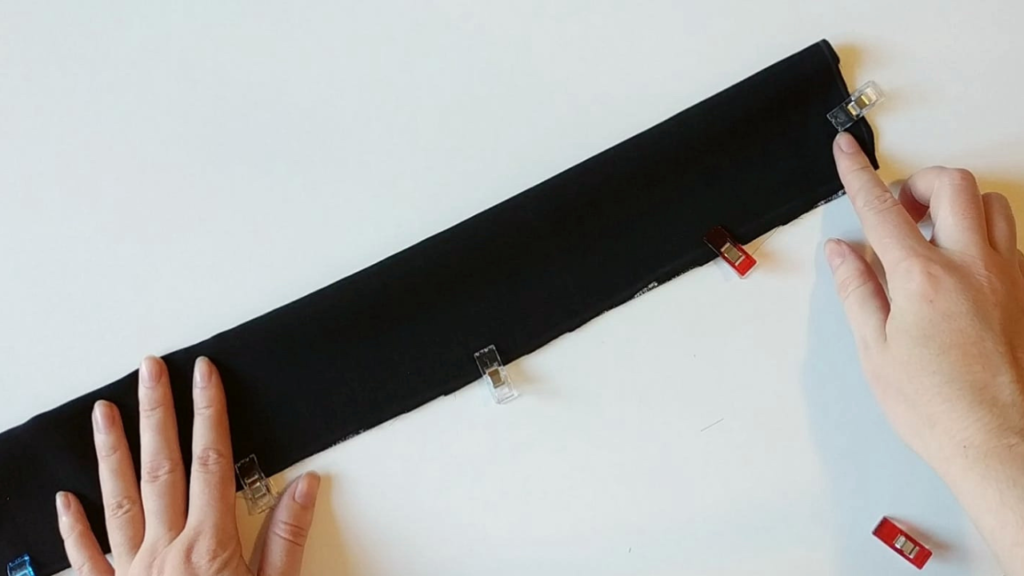
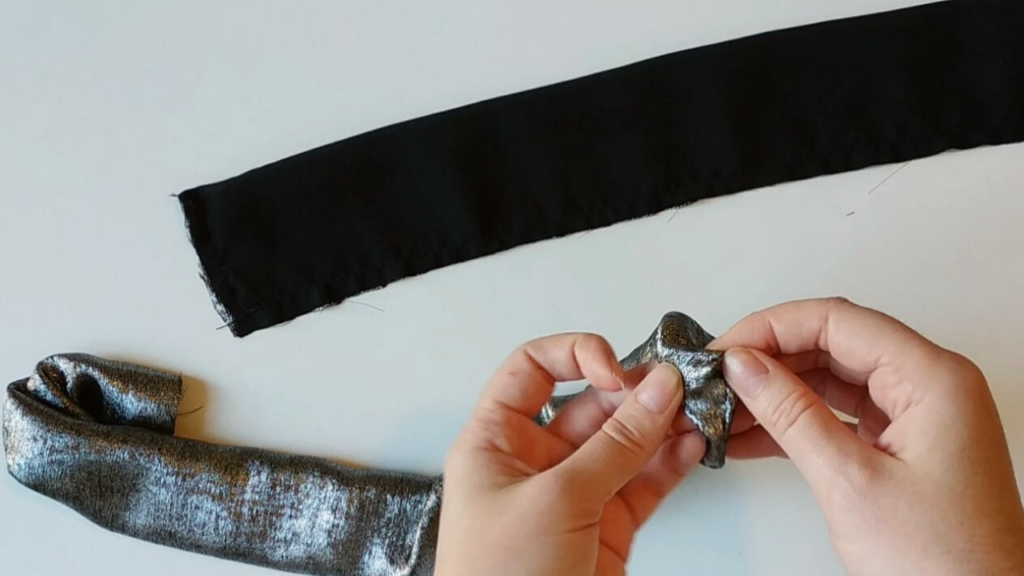
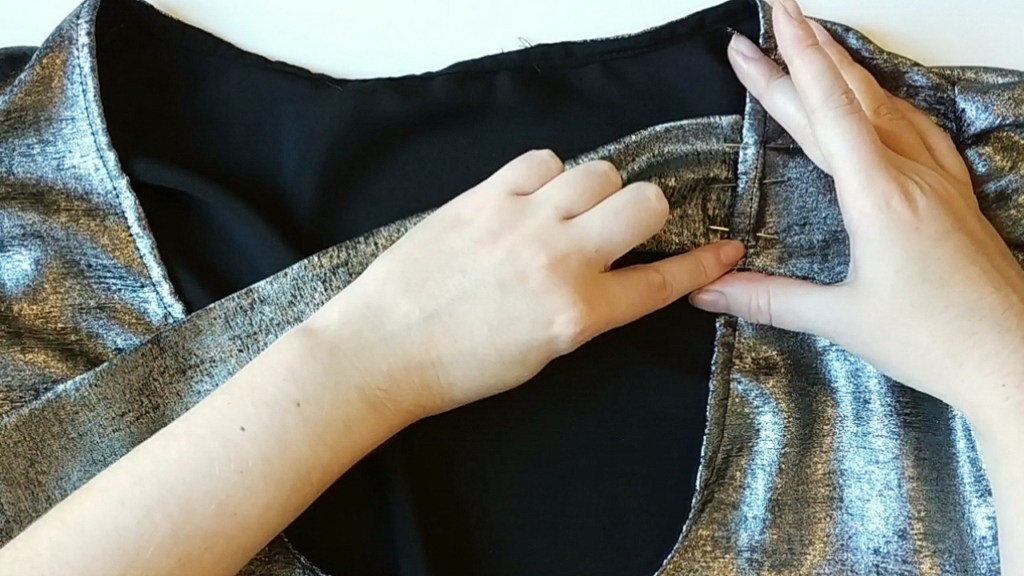
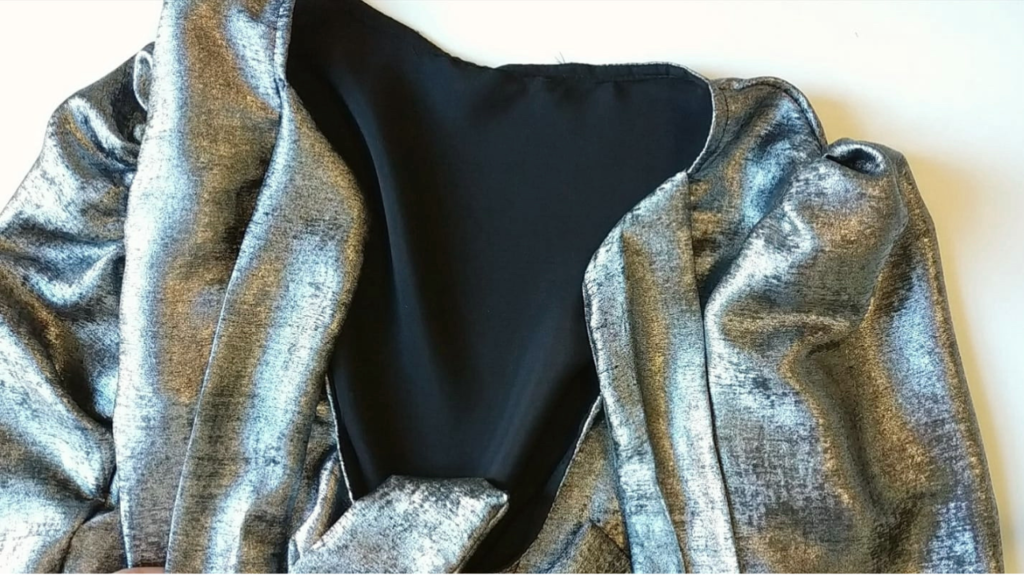
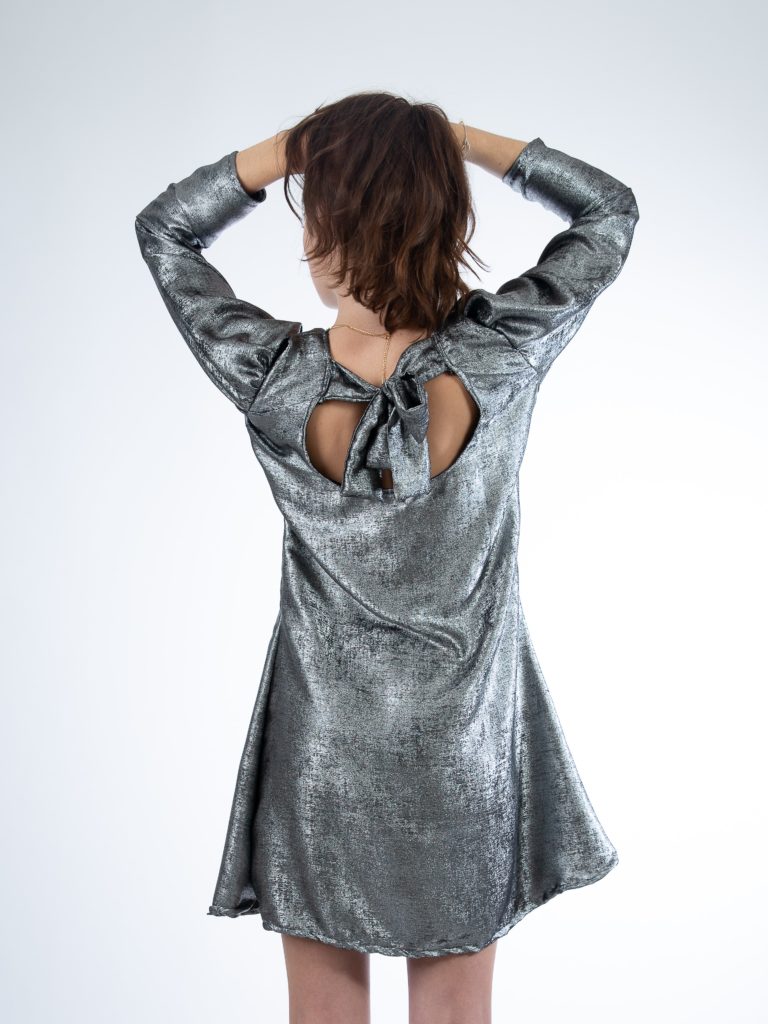
;
Find the pattern in the 32-48 range to download here and the pattern in the 48-60 range here;